
How to Install and Use SwitchBot Curtain 3
A research-based SwitchBot Curtain 3 how-to as of November 18, 2026: official Rod 3 package contents, 15–40 mm track fit, app pairing before hanging, magnet stops, calibration, Touch & Go, charging and solar notes.
Disclosure: This page may contain affiliate links. They do not influence our editorial conclusions. Read the disclosure.
Our pick
- See price at SwitchBot
Top pick
SwitchBot
SwitchBot makes smart home hubs, curtain and lock robots, sensors, lights and household robots, sold on the official US store at us.switch-bot.com and through S...
Steps in this guide
SwitchBot Curtain 3 is a battery-powered motor that clips onto an existing curtain rod or U rail and opens or closes the fabric from the SwitchBot app, a touch on the curtain, an optional remote, or — with a separately sold SwitchBot Hub — voice assistants and cloud automations. This how-to is a research-based reading of the official Curtain 3 product page, SwitchBot's user-manuals page, and the official Curtain Rod 3 and Curtain U Rail 3 user manuals (the Rod manual is marked V1.2-2307), all as of November 18, 2026. It is not a hands-on test. For the broader lineup, see the best SwitchBot products roundup. Shipping, returns, warranty and app accounts are in the SwitchBot shopping guide. Cloud voice control also needs a hub; start with How to Set Up SwitchBot Hub 4 and the Hub 4 review.
The official U.S. store lists Curtain 3 in two hardware versions on the same product page: Rod Type 1 and U Rail, plus an I Rail Accessory Kit that the page says is compatible only with U Rail 3. This guide follows the official Rod 3 manual for rod-style tracks and notes where the U Rail 3 manual and the product page differ. SwitchBot's U.S. store was also showing cart promotions when these pages were checked, so this article does not cite selling prices; check the official product page for what you would pay today.

What you need before you start
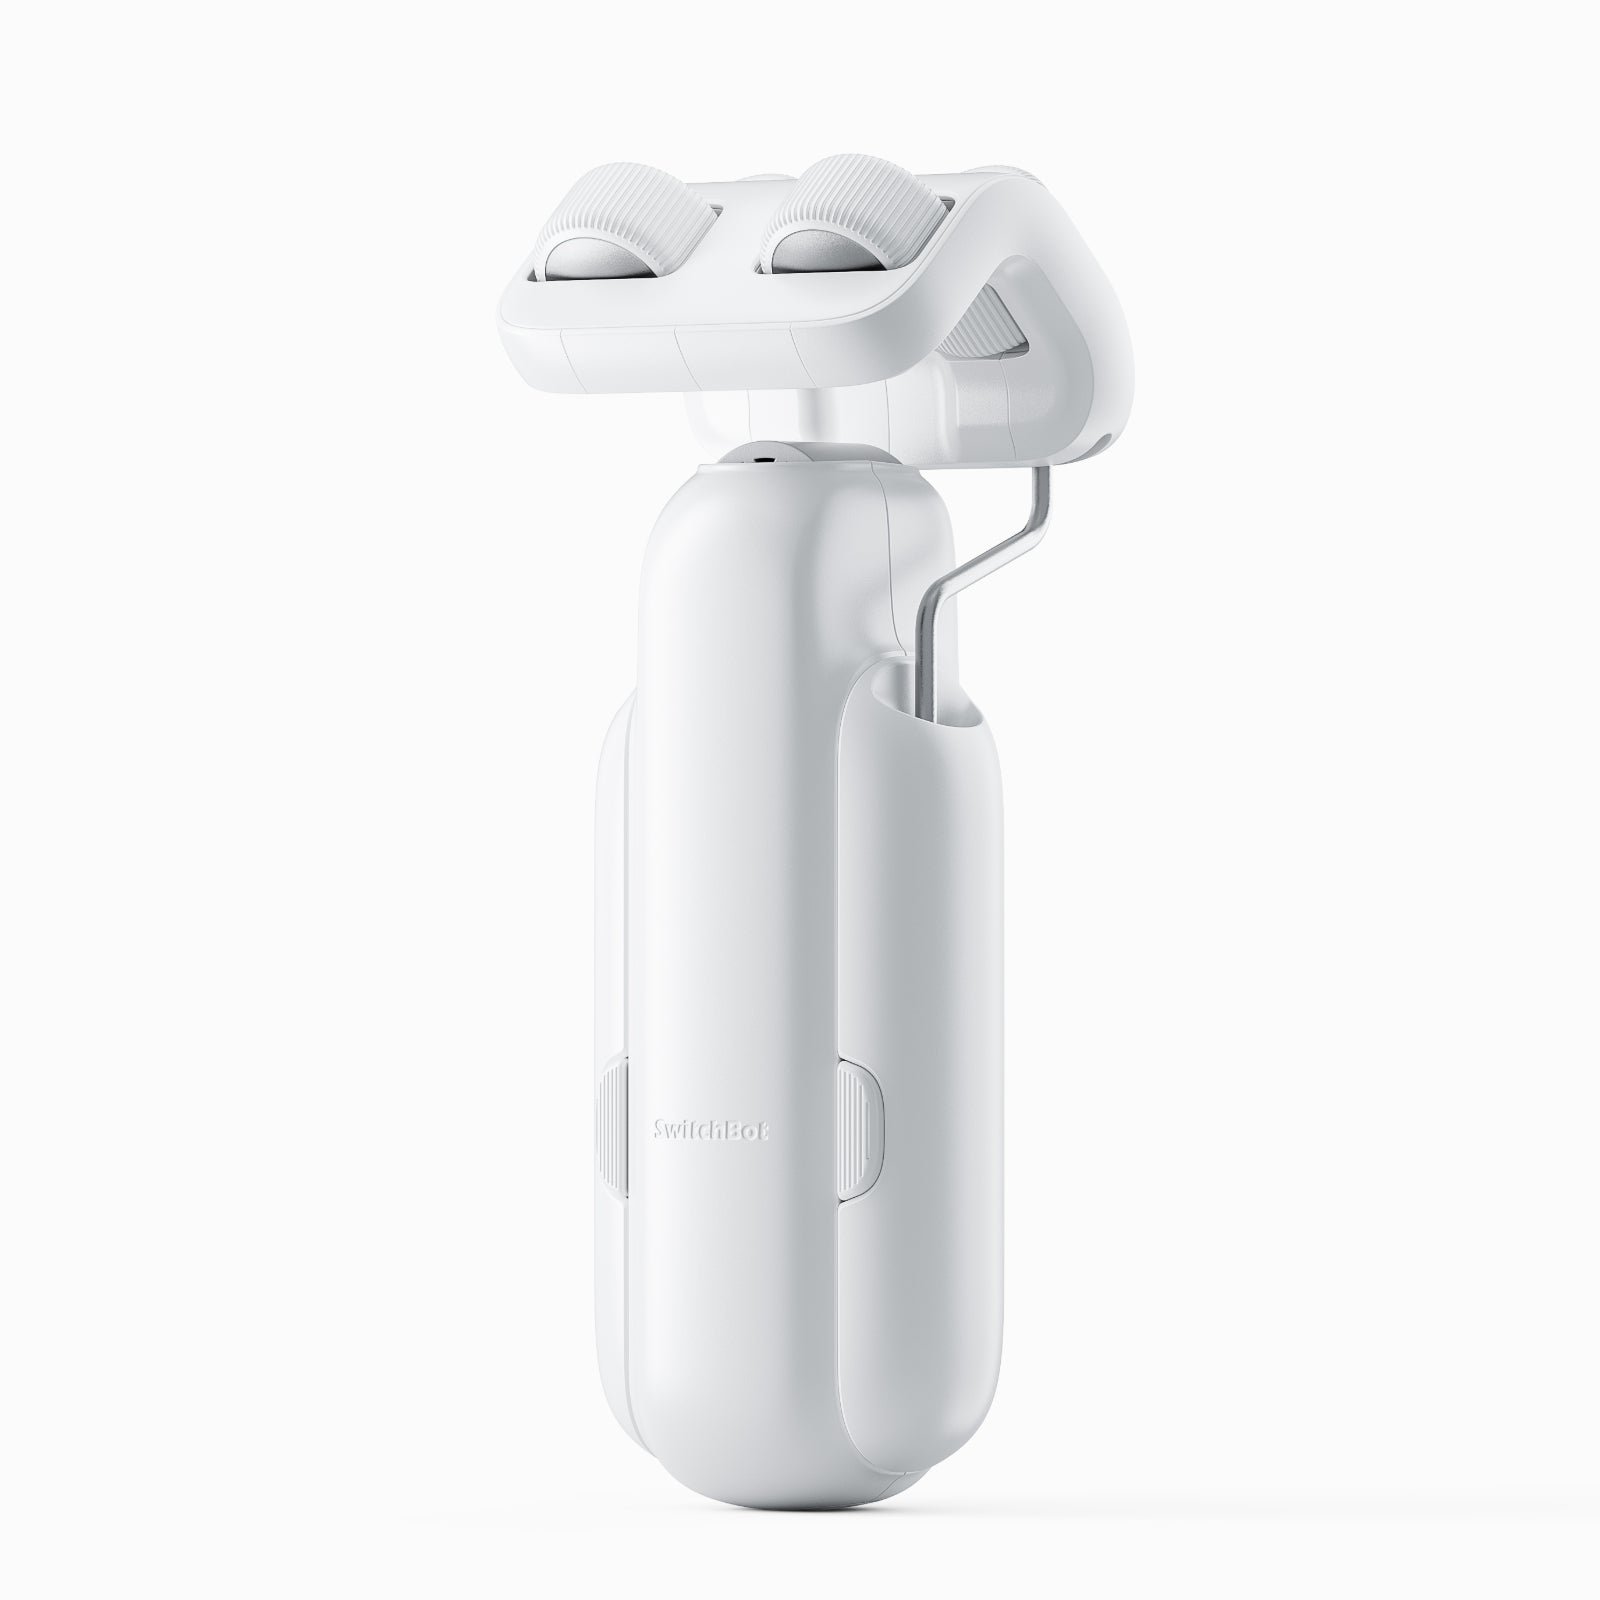
The official Curtain Rod 3 manual's package list is: the main unit, a hook pair (Rod 3), a USB Type-C cable, a clip, a reset tool, a wet wipe, a beads fixer with beads installed, and a magnet attachment for positioning. The U Rail 3 box is different: a hook pair (U Rail 3), hook wheels, a hook helper, a hook-wheel attachment, a positioning magnet and an alcohol wipe. The U Rail 3 manual notes that SwitchBot delivers different types and quantities of hook wheels according to region.
On the Rod 3 unit, the manual labels a rubber roller, an Add Device button, a reset button, an indicator light and a Type-C charging port. Preparation is: a smartphone or tablet using Bluetooth 4.2 or later; the latest SwitchBot app (the manual marks iOS 11.0+ and Android OS 5.0+); a SwitchBot account; and a fully charged Curtain. If you intend to use Cloud Services for voice control, the manual says you will need a SwitchBot Hub, sold separately.
Charge the device before you hang it. The Rod 3 manual says a full charge takes about 6.5 hours and can last for up to eight months after one full charge. A 5V=1A adapter is required. Battery life is "tested by opening and closing 8 kg (17 lbs) curtains on a 3-meter-long track once a day under temperature conditions of 25 °C," and "actual battery life may vary depending on different conditions." The specification table lists a 3350 mAh lithium-ion battery, Type-C power, Bluetooth 5.0, a main-unit size of 42 × 51 × 173 mm (1.7 × 2 × 6.8 in), a weight of 280 g (9.9 oz), a maximum runway of 3 m (9.8 ft), and a claimed strength of "up to 15 kg (33 lbs) (from controlled experiments in our lab)." Those figures are SwitchBot's, not an independent measurement.
An optional SwitchBot Solar Panel (sold separately; the manual discusses Solar Panel 3 in the settings section) can charge the unit in sunlight. The manual says that with only three hours per day under sunlight that can "cast clear shadow," the panel "can generate sufficient power to sustain your SwitchBot Curtain Rod 3 forever." Treat that as SwitchBot's official, condition-laden claim, not a guarantee for a shaded window.
Check the track, add the device in the app, then hang it
The Rod 3 manual is explicit about fit: SwitchBot Curtain Rod 3 supports a curtain track with a diameter of 15 to 40 mm. If it does not fit, contact support@switch-bot.com rather than forcing a mismatch.
Installation is two official steps, and the order matters. Step 1 is to add the device in the app before you put it on the rod: open the app, sign in, tap "+" at the top right of the home page, find the Curtain icon, and follow the in-app instructions. Step 2 is to install the motor on the track, using the stretchable hook arm.

For ring-top curtains, the manual says: fully close the curtain and remove the first hook from the ring; install two detachable hooks onto the rod between the first and second ring; pull one hook downward with one hand and hold the main unit — SwitchBot logo facing indoors — upward against the rod with the other; align the snaps until you hear a click, attach the second hook, and adjust the unit so it stays perpendicular to the ground. Hang the curtain back and hide the motor behind the fabric. Grommet curtains use the same hook-and-click sequence at the back of the curtain, plus a beads-fixer at the top of the grommets, with leftover beads cut or tucked behind the fabric.
Tab-top and back-tab curtains use the clips in the box. Close the curtain, clip the first tab in the direction the manual marks, then attach the remaining clips the opposite way so they sit on top of the rod, align, and connect end to end. The motor still hangs at the back, with two hooks between the first and second ring, the logo facing indoors, and the body kept perpendicular to the ground.
A repeated warning applies to every hook installation: "do not apply excessive force when pulling the Hook downwards without supporting your rod, or your rod may break or detach from your wall."
If you have a U-shaped rail rather than a rod, use the official Curtain U Rail 3 manual and the U Rail version of the product, not the Rod 3 hook pair. The product page describes the I Rail Accessory Kit as compatible only with U Rail 3.
Magnet stop, calibration and how you actually open the curtains
After the motor is on the track, the Rod 3 manual's Step 3 is the magnet attachment, "to help your SwitchBot Curtain run precisely to close your curtains in future operation." Install it before route calibration. Clean the track with the wet wipe first; "dirt or dust will affect adhesion and may cause dropping at a later time."
If a rod bracket is holding the rod at the closed position, remove the magnet attachment from the liner and stick it to the bottom of the rod along the bracket, with the magnet piece inside parallel with the rod. For double-sided curtains, stick two attachments along both sides of the middle bracket symmetrically. Pull the Curtain so it rolls onto the magnet and stops in the area the diagram marks, then hide the unit behind the fabric. If you have double-sided curtains without a middle bracket, fully close the curtains and use the red long sticker to mark the middle — "only using your eyes to measure the position may cause deviation." Open the curtains, stick the magnets along both sides of the dotted line so they wrap the rod at the bottom with the magnet pieces parallel to it, pull each device onto its magnet, then remove the sticker and hide the motors.
Step 4 is calibration in the app. After the device is added and installed, "you will need to calibrate your device to set its route on your curtain track." Follow the in-app instructions "to make sure that the actual movement of your curtain is the same as the animation in the app." You can recalibrate or change the opening direction later at Curtain > Settings > Calibration. If you group two Curtain Rod 3 units to open from the middle, "make sure the positions of both devices are the same as shown in our app" before you calibrate the pair.
Once it is calibrated, you can open and close from the app. The manual also describes Touch & Go: when Curtain Rod 3 senses you drawing your curtain more than 5 cm, "your device will automatically open or close depending on where your device is." For double-sided curtains, you only need to pull one side. You can turn the feature off in Advanced Settings. The 5 cm threshold, the manual says, "lowers the possibility of false triggers by foreign objects, pets, children, etc."
A SwitchBot Remote, sold separately, can control the curtain — or two grouped Curtain devices — with two buttons; the manual points you to the Remote's own user manual for details.
Locally, you can set a Delay for a countdown open or close, and up to five Schedules on the device — or unlimited Schedules with a SwitchBot Hub — including day, time, percentage of opening or closing, and Motion mode. Voice control and home automation require a hub: connect the phone to the internet, set up a SwitchBot Hub, turn on Cloud Services in the Curtain's Settings page, and link third-party services to your account. The manual lists Amazon Alexa, Google Assistant, Siri Shortcuts, SmartThings and IFTTT, and marks the hub as sold separately. Firmware updates arrive in the app; when you upgrade, make sure the product has sufficient battery and that your smartphone is within range.
Charging, solar, reset and a few limits
For everyday charging, use the Type-C port and a 5V=1A adapter. To reset to factory settings, use the reset tool to press and hold Reset for three seconds until the indicator light is visible, then release. In Device Settings, a SwitchBot Solar Panel 3 lets you set automations based on light level; "the light level curve will tell you the optimal time period of sunlight in a day," and you can set an automatic charging schedule accordingly.
Stay inside the official limits: a maximum runway of 3 m (9.8 ft), the 15-to-40 mm rod diameter, and SwitchBot's stated strength of up to 15 kg (33 lbs) from its controlled lab tests. The manual also recommends room-temperature use. Warranty language in the Rod 3 manual is a limited warranty to the original owner for defects in materials and workmanship, with exclusions that include attempted repairs, misuse, unauthorized resellers, consumable parts including batteries, and natural wear; read the current official terms and the shopping guide before you rely on coverage.
If you get stuck, the manuals point to support.switch-bot.com and support@switch-bot.com. Add the device in the app first, confirm the 15-to-40 mm rod (or use the U Rail 3 kit on a U rail), hang it without yanking an unsupported rod, place the magnet stops, then calibrate so the motor's route matches the animation in the app.
References
- SwitchBot, "SwitchBot Curtain 3 | Smart Curtain Motor | Rod & U Rail" product page (Rod Type 1 and U Rail versions, I Rail kit compatibility note, accessed November 18, 2026). https://us.switch-bot.com/products/switchbot-curtain-3
- SwitchBot, Curtain 3 product information page. https://us.switch-bot.com/pages/switchbot-curtain-3
- SwitchBot, User Manuals page (official Curtain 3 Rod and U Rail manual links). https://us.switch-bot.com/pages/switchbot-user-manual
- SwitchBot, Curtain Rod 3 User Manual, V1.2-2307 (package contents, 15–40 mm track, installation, magnet stops, calibration, Touch & Go, charging, specifications, warranty). https://drive.google.com/file/d/1F_i1eN788pox4rWcf01PTn3cU3GBJKWd/view?usp=sharing
- SwitchBot, Curtain U Rail 3 User Manual (package contents and U-rail hardware). https://drive.google.com/file/d/1WQp0CUKVAEDuYnQMo_RlAT3AaEn5HIfJ/view?usp=sharing
- SwitchBot, support site. https://support.switch-bot.com/hc/en-us
Meet your guide
Lipeiguan
author
What to read next
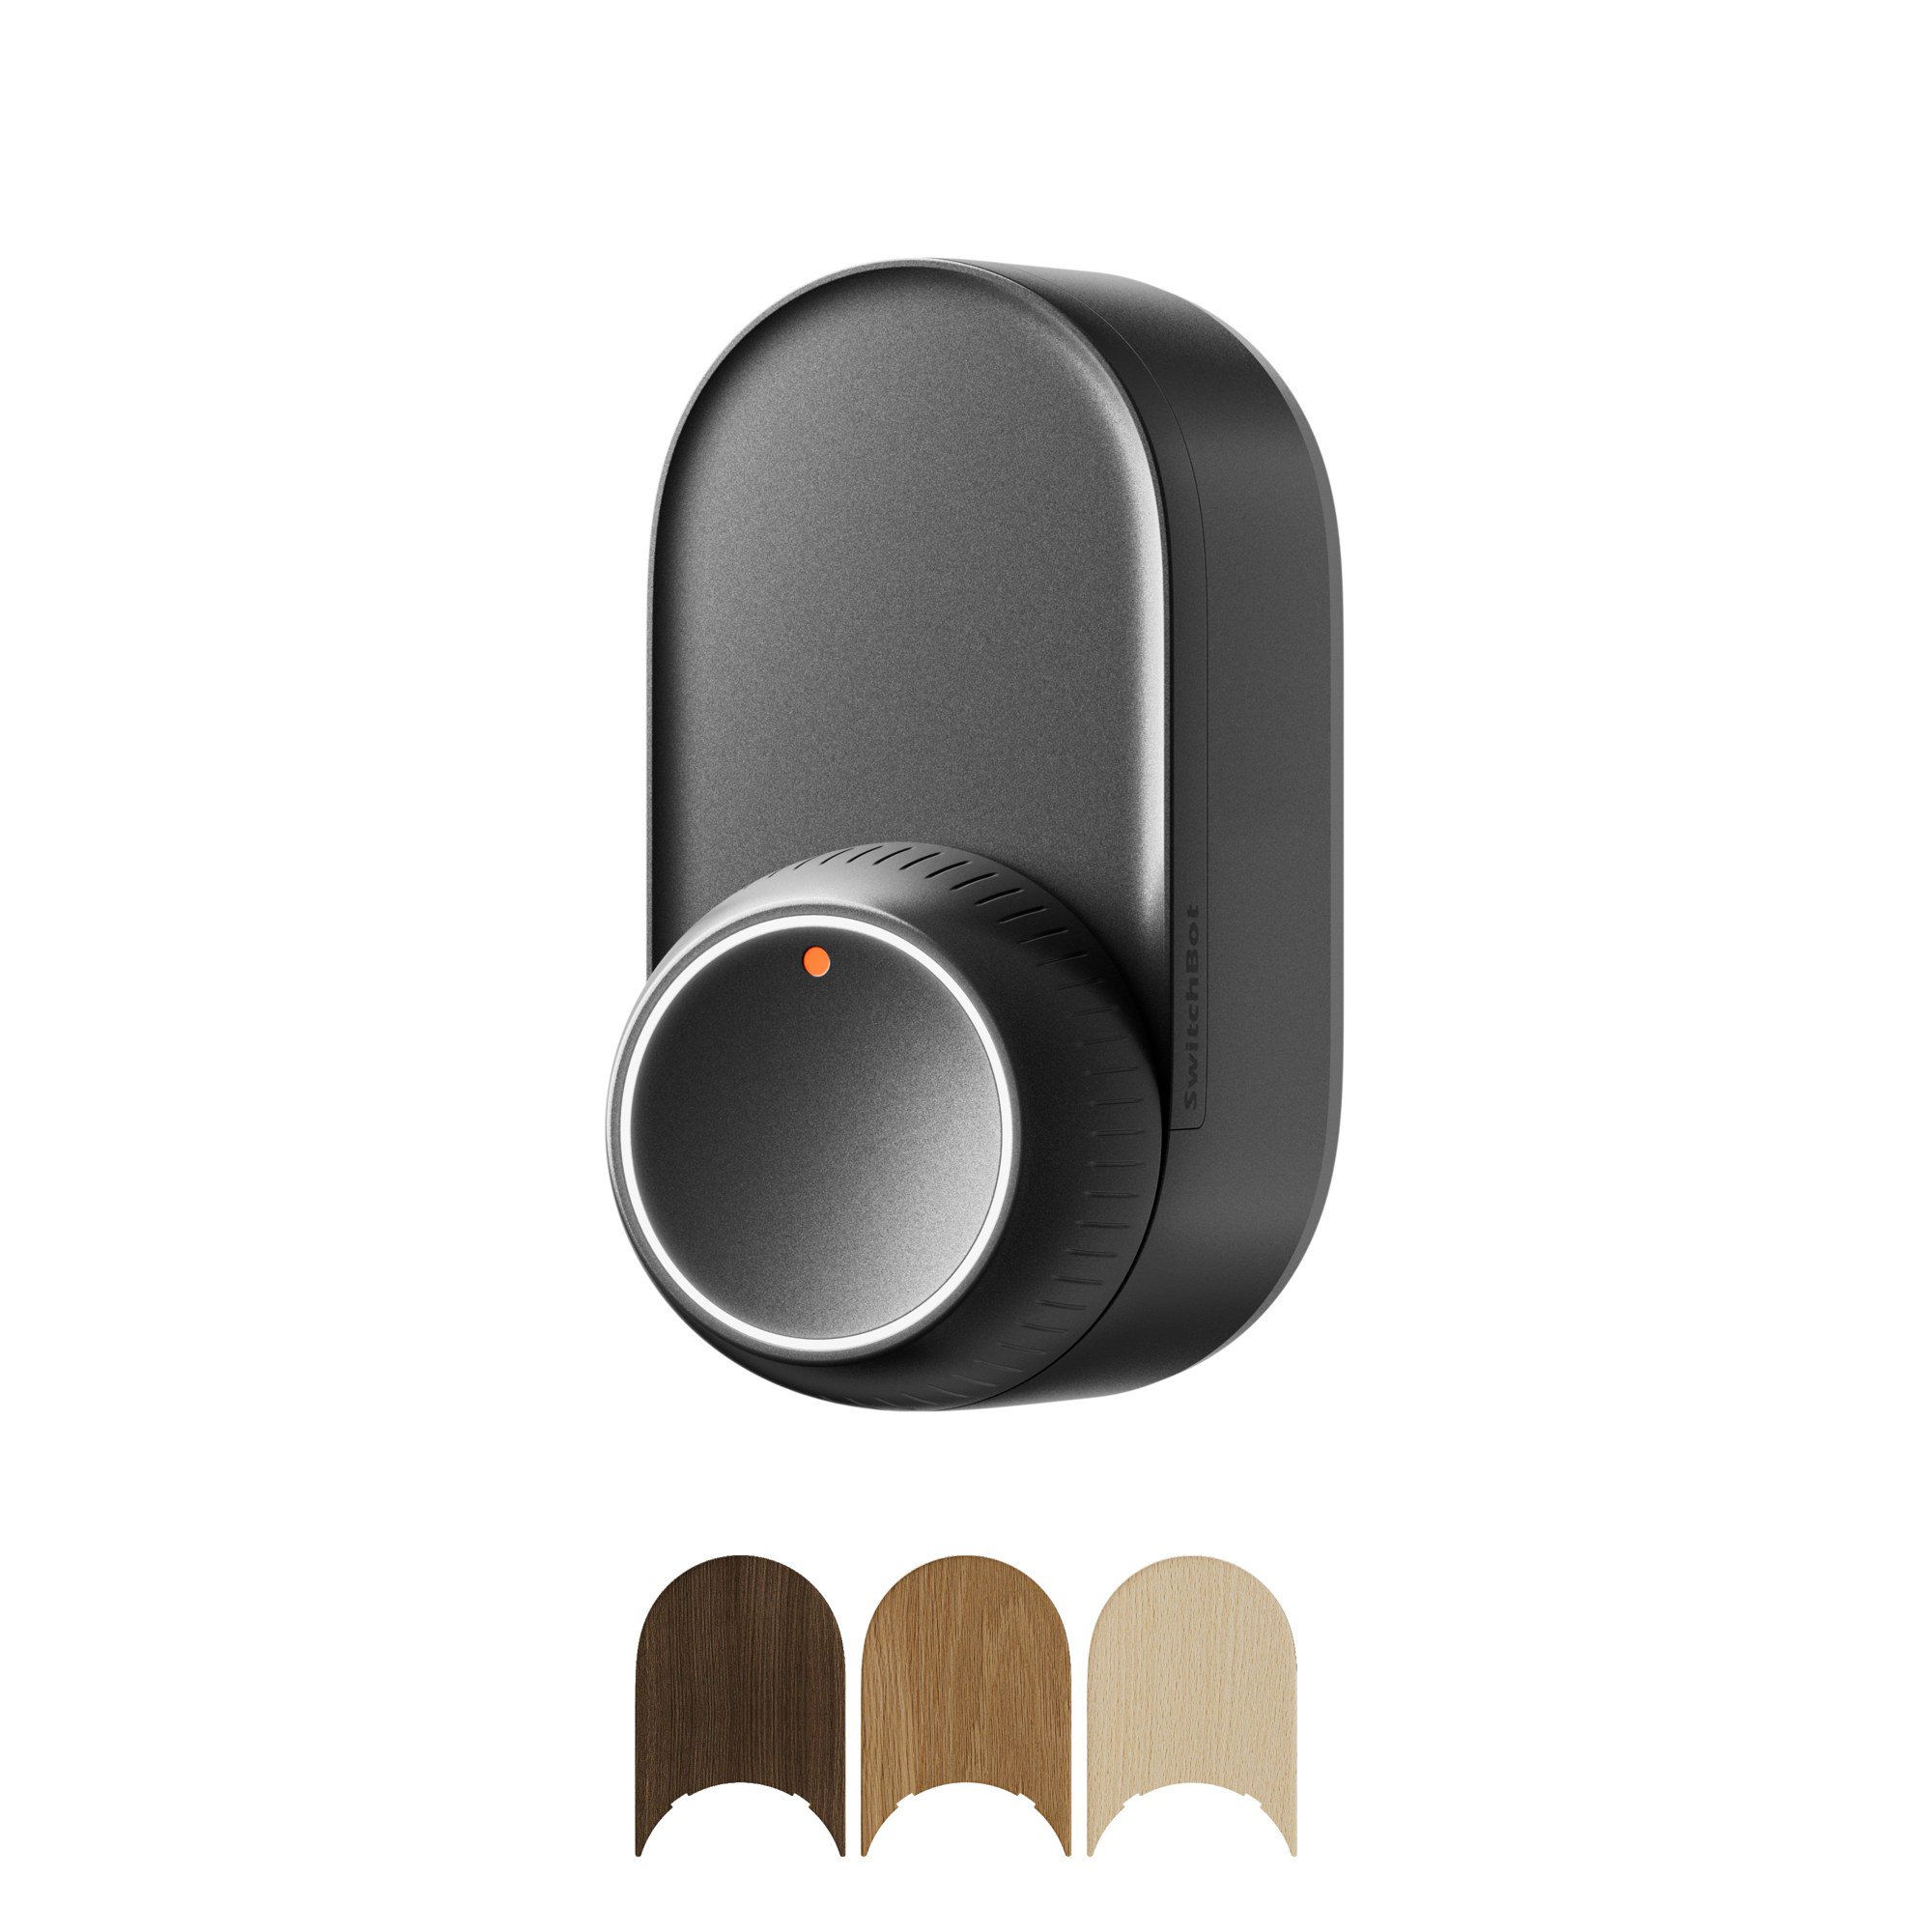 How to Choose a SwitchBot Lock: Lock Pro vs Lock Ultra vs Lock Vision and Vision Pro A research-based guide to official SwitchBot Lock Pro, Lock Ultra, Lock Vision and Lock Vision Pro specs and November 20, 2026 U.S. prices, including batteries, hubs, keypads, comp...
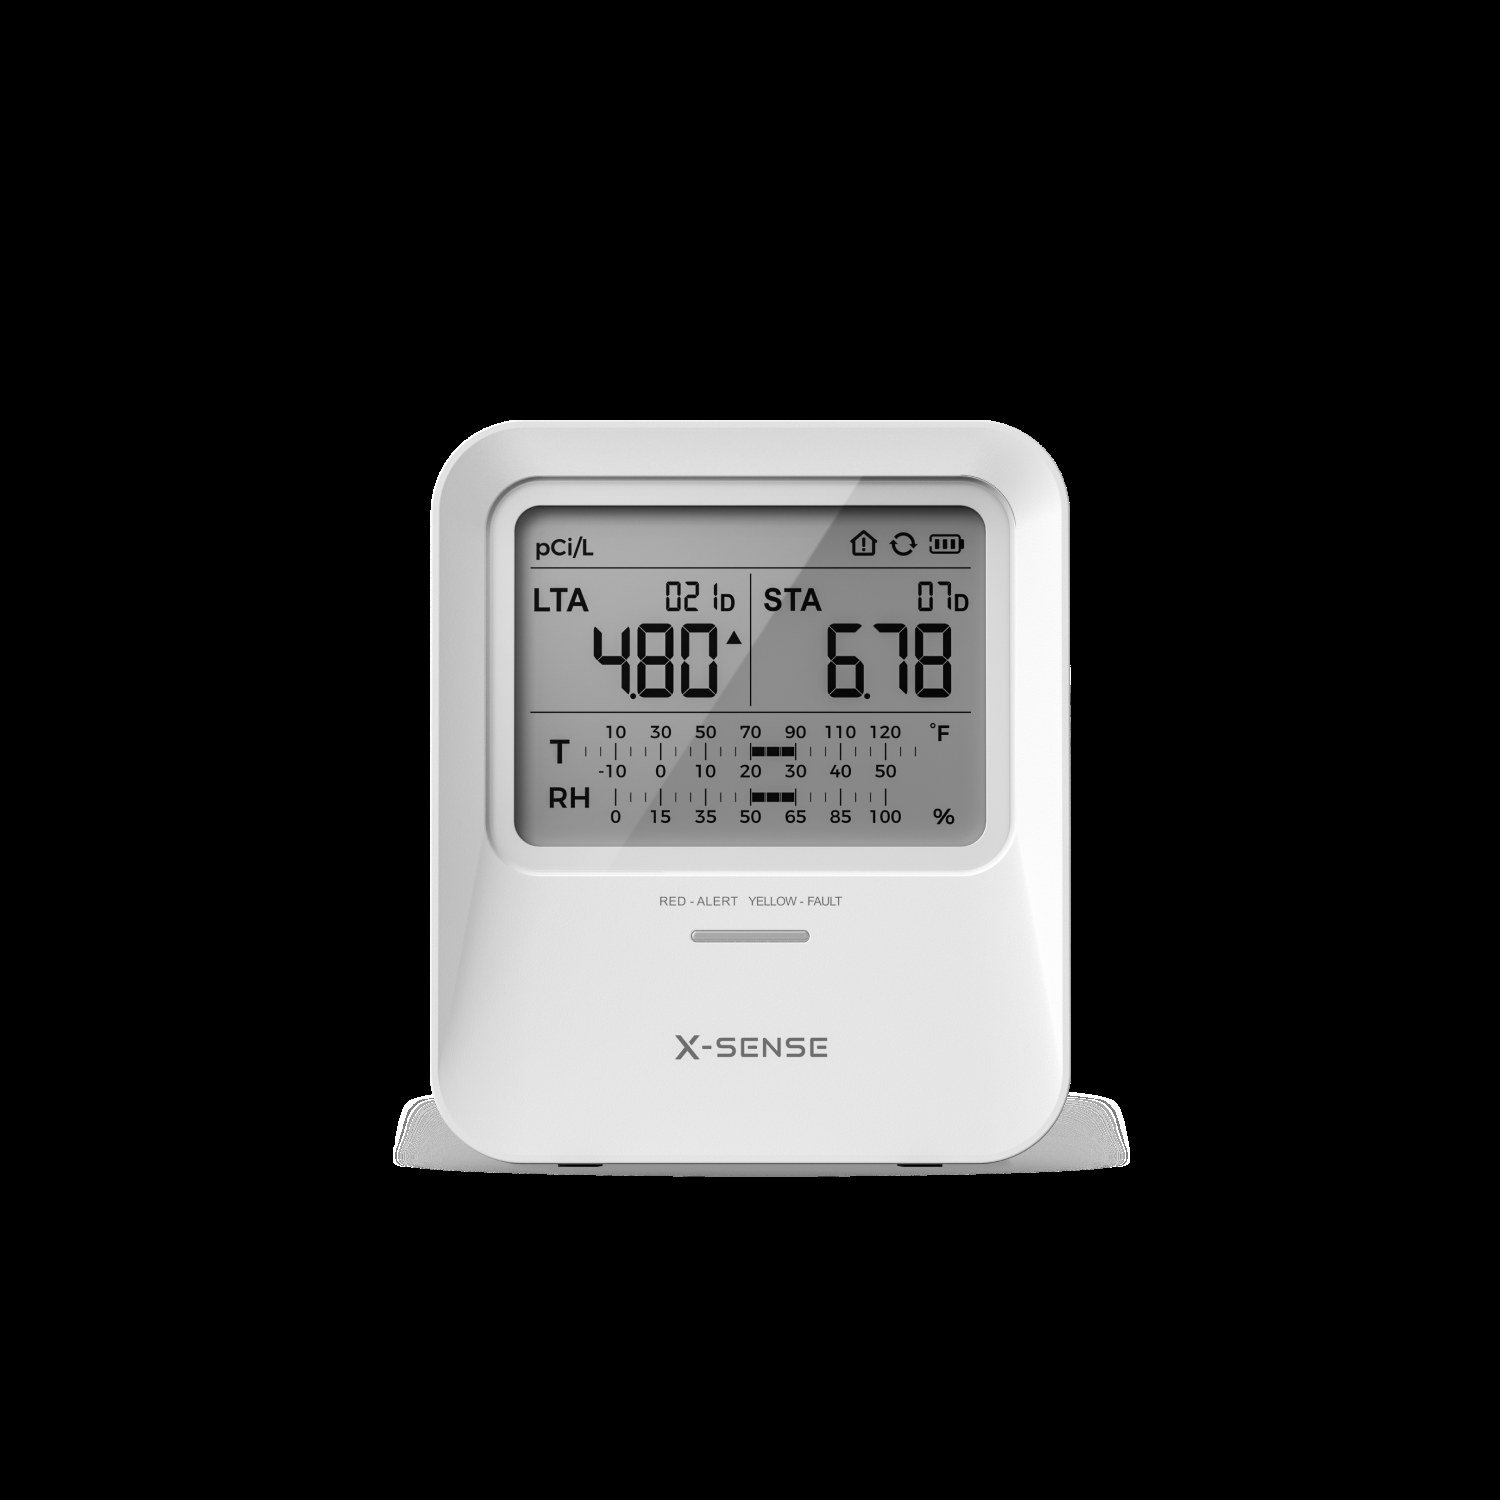 How to Test Your Home for Radon With an X-Sense Detector A research-based X-Sense XR0B-SR how-to as of November 18, 2026: where to place the detector, how long to wait, how to read pCi/L and Bq/m³, and what X-Sense and EPA documents say...
 Lowe's Review 2026: Store Network, Home Services and Customer Scores A research-based review of Lowe's as of November 17, 2026: 1,761 stores and 196.0 million square feet of selling space as of July 31, 2026, installation services as a stated strate...