
How to Install an SSD in the Seagate FireCuda Forge: Requirements, Steps and Status Lights
Step-by-step FireCuda Forge setup from Seagate's manual: which NVMe SSD to buy, fitting it with the thermal pads, connecting power and USB4, reading the LED codes, formatting for Mac and upgrading safely.
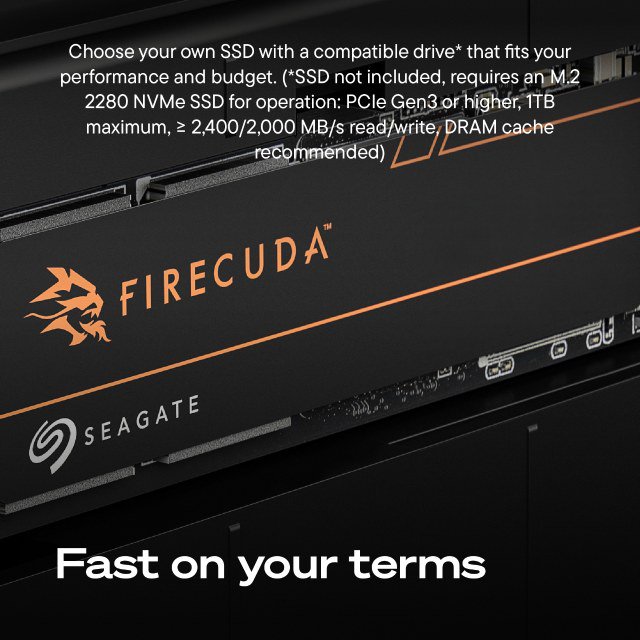
Disclosure: This page may contain affiliate links. They do not influence our editorial conclusions. Read the disclosure.
Our pick
- See price at Seagate
Top pick
Seagate
Seagate is a data storage company that makes hard drives, SSDs and external storage, including the FireCuda gaming line, the Expansion and One Touch external dr...
Steps in this guide
Seagate's FireCuda Forge ships without the one part it cannot run without: an NVMe SSD. Seagate's Alkemi system uses that SSD as the fast tier for your most-used files, while the built-in 8TB or 20TB hard drive holds everything else. This guide takes you through choosing a compatible SSD, installing it, powering up and connecting the drive, reading the status lights and formatting for Mac, all based on Seagate's official user manual and product documentation.
We have not installed an SSD in a Forge ourselves. The steps below follow Seagate's published instructions, and your copy of the quick start guide in the box is the final word.

Step 1: Choose a compatible SSD
Seagate's manual lists five requirements. Check every one before you buy:
- Form factor: M.2 2280 (22mm wide, 80mm long). Seagate lists only the 2280 length.
- Interface: NVMe, PCIe Gen3 or higher. SATA M.2 drives do not meet the NVMe requirement.
- Speed: at least 2,400MB/s read and 2,000MB/s write.
- DRAM cache: recommended. DRAM-less drives are not ruled out, but Seagate recommends DRAM.
- No heatsink: do not use an SSD with a heatsink attached. The Forge manages heat with the two thermal pads in the box.
How big should the SSD be?
Seagate is specific about capacity:
| SSD choice | What Seagate says |
|---|---|
| 1TB | Recommended for optimal performance |
| Larger than 1TB | Supported, but the Forge only recognizes up to 1TB; more capacity does not improve performance |
| Smaller than 1TB | Supported, but performance may be reduced |
| PCIe Gen3 | Supported |
| PCIe Gen4 or newer | Supported, but generations above PCIe 3 do not improve performance |
So the efficient choice is a 1TB NVMe drive with DRAM that meets the speed floor. Paying extra for a 2TB or 4TB drive, or for top-end Gen5 speeds, buys nothing inside a Forge.
Back up the SSD first
If you are reusing an SSD from another computer, copy off anything you need. Seagate's manual says data stored on the SSD will be deleted when the Forge prepares it for use.
Step 2: Gather tools and prepare
From the box you need the 2mm hex screwdriver, the two thermal pads and the SSD mounting screw (M2 x 3mm). You also need a Phillips PH1 screwdriver, which is not included.
Before you open the case, Seagate says:
- Make sure the Forge is not connected to your computer.
- Disconnect the power supply from the Forge.
- Do not power on the Forge before the SSD is installed.
- Ground yourself to avoid electrostatic discharge, handle the SSD by its edges and do not touch the connector pins.
Work on a flat, clean surface with good light.
Step 3: Remove the bottom cover
- Turn the Forge upside down to reach the bottom of the enclosure.
- Use the 2mm hex screwdriver to remove the four M3 screws (5mm).
- Lift off the cover and keep the screws together.
Step 4: Fit the first thermal pad
- Turn the Forge on its side so you can reach the SSD bay.
- Peel one thermal pad from the sheet.
- Place it sticky side down in the SSD bay, in the position shown in the manual, and press it into place.
- Do not remove the film on top of the pad.
Step 5: Install the SSD
- Align the notch on the M.2 SSD with the divider in the slot.
- Slide the SSD in carefully until it is firmly seated. Do not force it.
- Hold the SSD down and fix it with the M2 x 3mm mounting screw using the PH1 Phillips screwdriver. Tighten only until secure.
Step 6: Fit the second thermal pad and close up
- Peel the second thermal pad from the sheet.
- Place it sticky side down on top of the SSD and press it into place, again leaving the top film on.
- Turn the Forge over, position the cover and secure it with the four M3 (5mm) screws.

Step 7: Connect power
The Forge runs from its own 12V power supply, not from the USB cable.
- Press the plug adapter release tab on the power supply and remove the dummy plate.
- Slide on the plug adapter for your country until it locks. The box includes adapters for the US, EU, UK, Korea, Australia and New Zealand, Japan, China and India.
- Plug the power supply into an outlet, then connect the power cable to the Forge.
Step 8: Connect to your computer
Connect the included USB4 cable (USB-C to USB-C) from the Forge to a USB-C port on your computer. Seagate says optimal performance needs one of these ports: USB4, Thunderbolt 3, Thunderbolt 4 or Thunderbolt 5. If you use Thunderbolt 3 or 4, make sure your PC maker's latest firmware is installed.
A few connection rules from Seagate's FAQ:
- USB-A only? Not recommended. Computers with only USB-A ports are not optimized for the Forge.
- Hubs and docks work only if they provide a USB4 or Thunderbolt 3 or later connection. If the drive is not detected or keeps disconnecting, plug it straight into the computer.
- Longer cables must be certified for USB4 or Thunderbolt 3 or later. Seagate recommends the included cable.

Step 9: Read the status lights
During startup, the RGB LEDs glow white while the Forge boots. After that, Seagate's manual says the LEDs tell you what the drive sees:
| LED pattern | Meaning |
|---|---|
| First three LEDs from the front white, steady then breathing | Device is starting |
| All LEDs orange, steady | Normal operation (default color and pattern) |
| First LEDs from the front yellow | No SSD detected |
| Third LEDs from the front orange | No hard drive detected |
| First LEDs yellow and third LEDs orange | No SSD and no hard drive detected |
| First LEDs from the front red | Fan not detected |
| First three LEDs from the front red | Internal system error |
If the first LED pair stays solid yellow, the Forge did not find the SSD. Disconnect power, reopen the case and check that the SSD is fully seated in the M.2 slot. The separate power LED on the back is white when the device is ready and blinks slowly when the drive is being accessed.
Step 10: Format for your computer
The Forge formats its single volume as NTFS for Windows. On a Mac, the manual says the volume appears read-only, because macOS can read NTFS but cannot write to it. To use the drive on a Mac:
- Open Disk Utility and reformat the volume. APFS is Apple's current format; Seagate notes it is the default for macOS Big Sur and later.
- If you move the drive between Windows and Mac, choose exFAT, which both can read and write.
Reformatting erases the volume, so do it before you copy files over.
Step 11: Register and install Toolkit (optional)
- Register the Forge by scanning the QR code in the quick start guide, or at seagate.com/register. Seagate says registration also gives access to partner offers.
- Seagate Toolkit (seagate.com/toolkit) lets Windows users customize the RGB lighting and set up backup plans, and lets both Windows and Mac users create mirror folders that stay in sync with the drive.
Upgrading later: read this first
Seagate supports replacing both the SSD and the hard drive. The hard drive must be in a 3.5-inch form factor, and the swap uses the same 2mm hex screwdriver. However, because the Forge builds one volume from both drives, the manual warns that changing or removing the SSD or hard drive erases all data on the volume, with no file recovery. Always back up the whole drive before any upgrade.
Troubleshooting checklist
- Drive not showing up on Windows: check Device Manager under Disk Drives. Seagate notes that if the SSD is not detected, the device may appear as an unallocated partition rather than a mounted Seagate volume.
- Slow transfers: confirm both cable ends are fully seated, disconnect other devices on the same port and make sure you are on USB4 or Thunderbolt.
- Drive powered off by itself: the Forge monitors its temperature and can shut down to protect data. Let it cool and keep air flowing around the case.
- "Disconnected" warning after sleep: Seagate says you can ignore it; the drive spins down in sleep and remounts.
Related reading
- Our research-based FireCuda Forge review covers value, strengths and limits.
- The Seagate Store shopping guide explains returns and warranty if something goes wrong.
- News: Seagate launches the FireCuda Forge.
References
- Seagate, FireCuda Forge user manual: Welcome, Getting Started, FireCuda Forge LEDs, Use Toolkit, Optional Formatting, Replacing the Hard Drive and FAQ: https://www.seagate.com/manuals/firecuda-forge/
- Seagate, FireCuda Forge product page: https://www.seagate.com/products/gaming-drives/pc-gaming/firecuda-forge/
- Seagate, FireCuda Forge data sheet: https://www.seagate.com/content/dam/seagate/en/content-fragments/products/datasheets/firecuda-forge/firecuda-forge-DS37-1-2609US-en_US.pdf
Meet your guide
Lipeiguan
author
What to read next
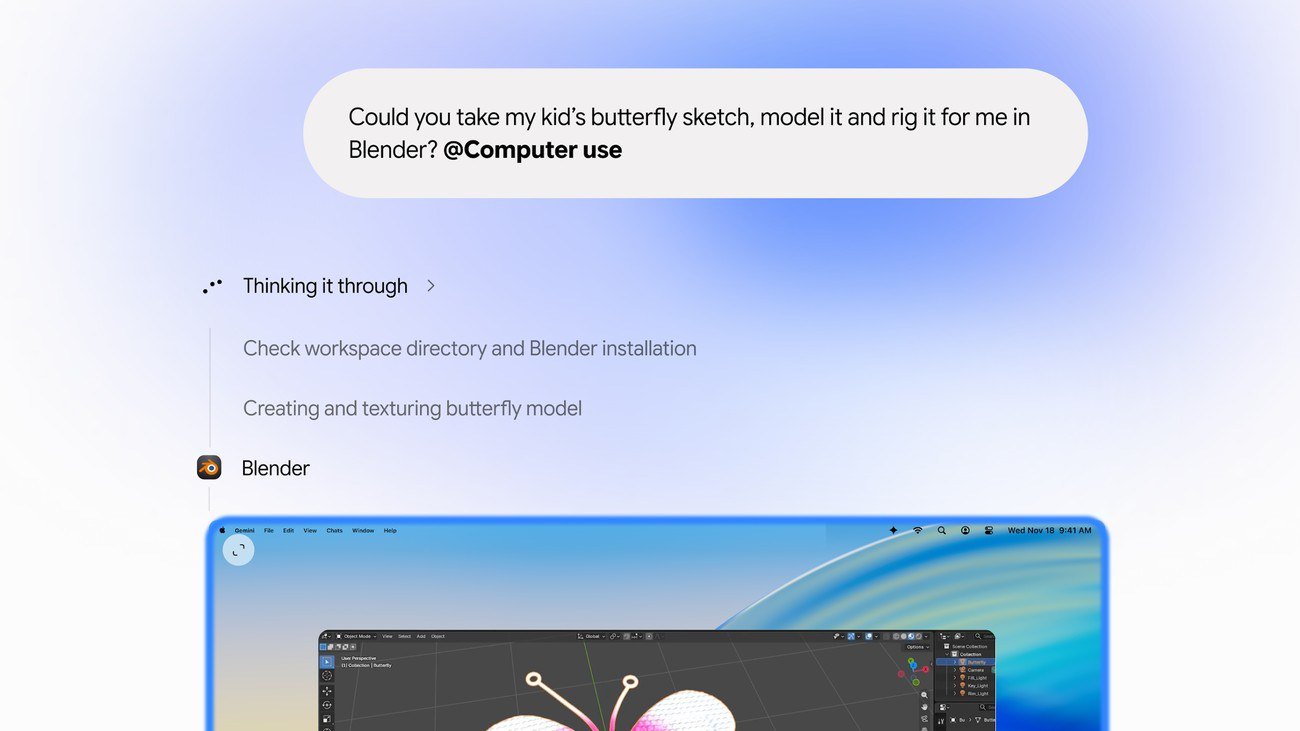 Google Adds Computer Use to the Gemini App for Mac in the U.S. On November 19, 2026, Google said computer use is available in the Gemini app for Mac, in English in the U.S. Official requirements include an Apple Silicon Mac on macOS Sequoia 15... How to Use Gemini Computer Use on a Mac: Official Requirements, Permissions and Examples Official Google requirements for computer use in the Gemini app for Mac: an Apple Silicon Mac on macOS Sequoia 15.0 or later, a personal Google account for people 18 or older, a Go...
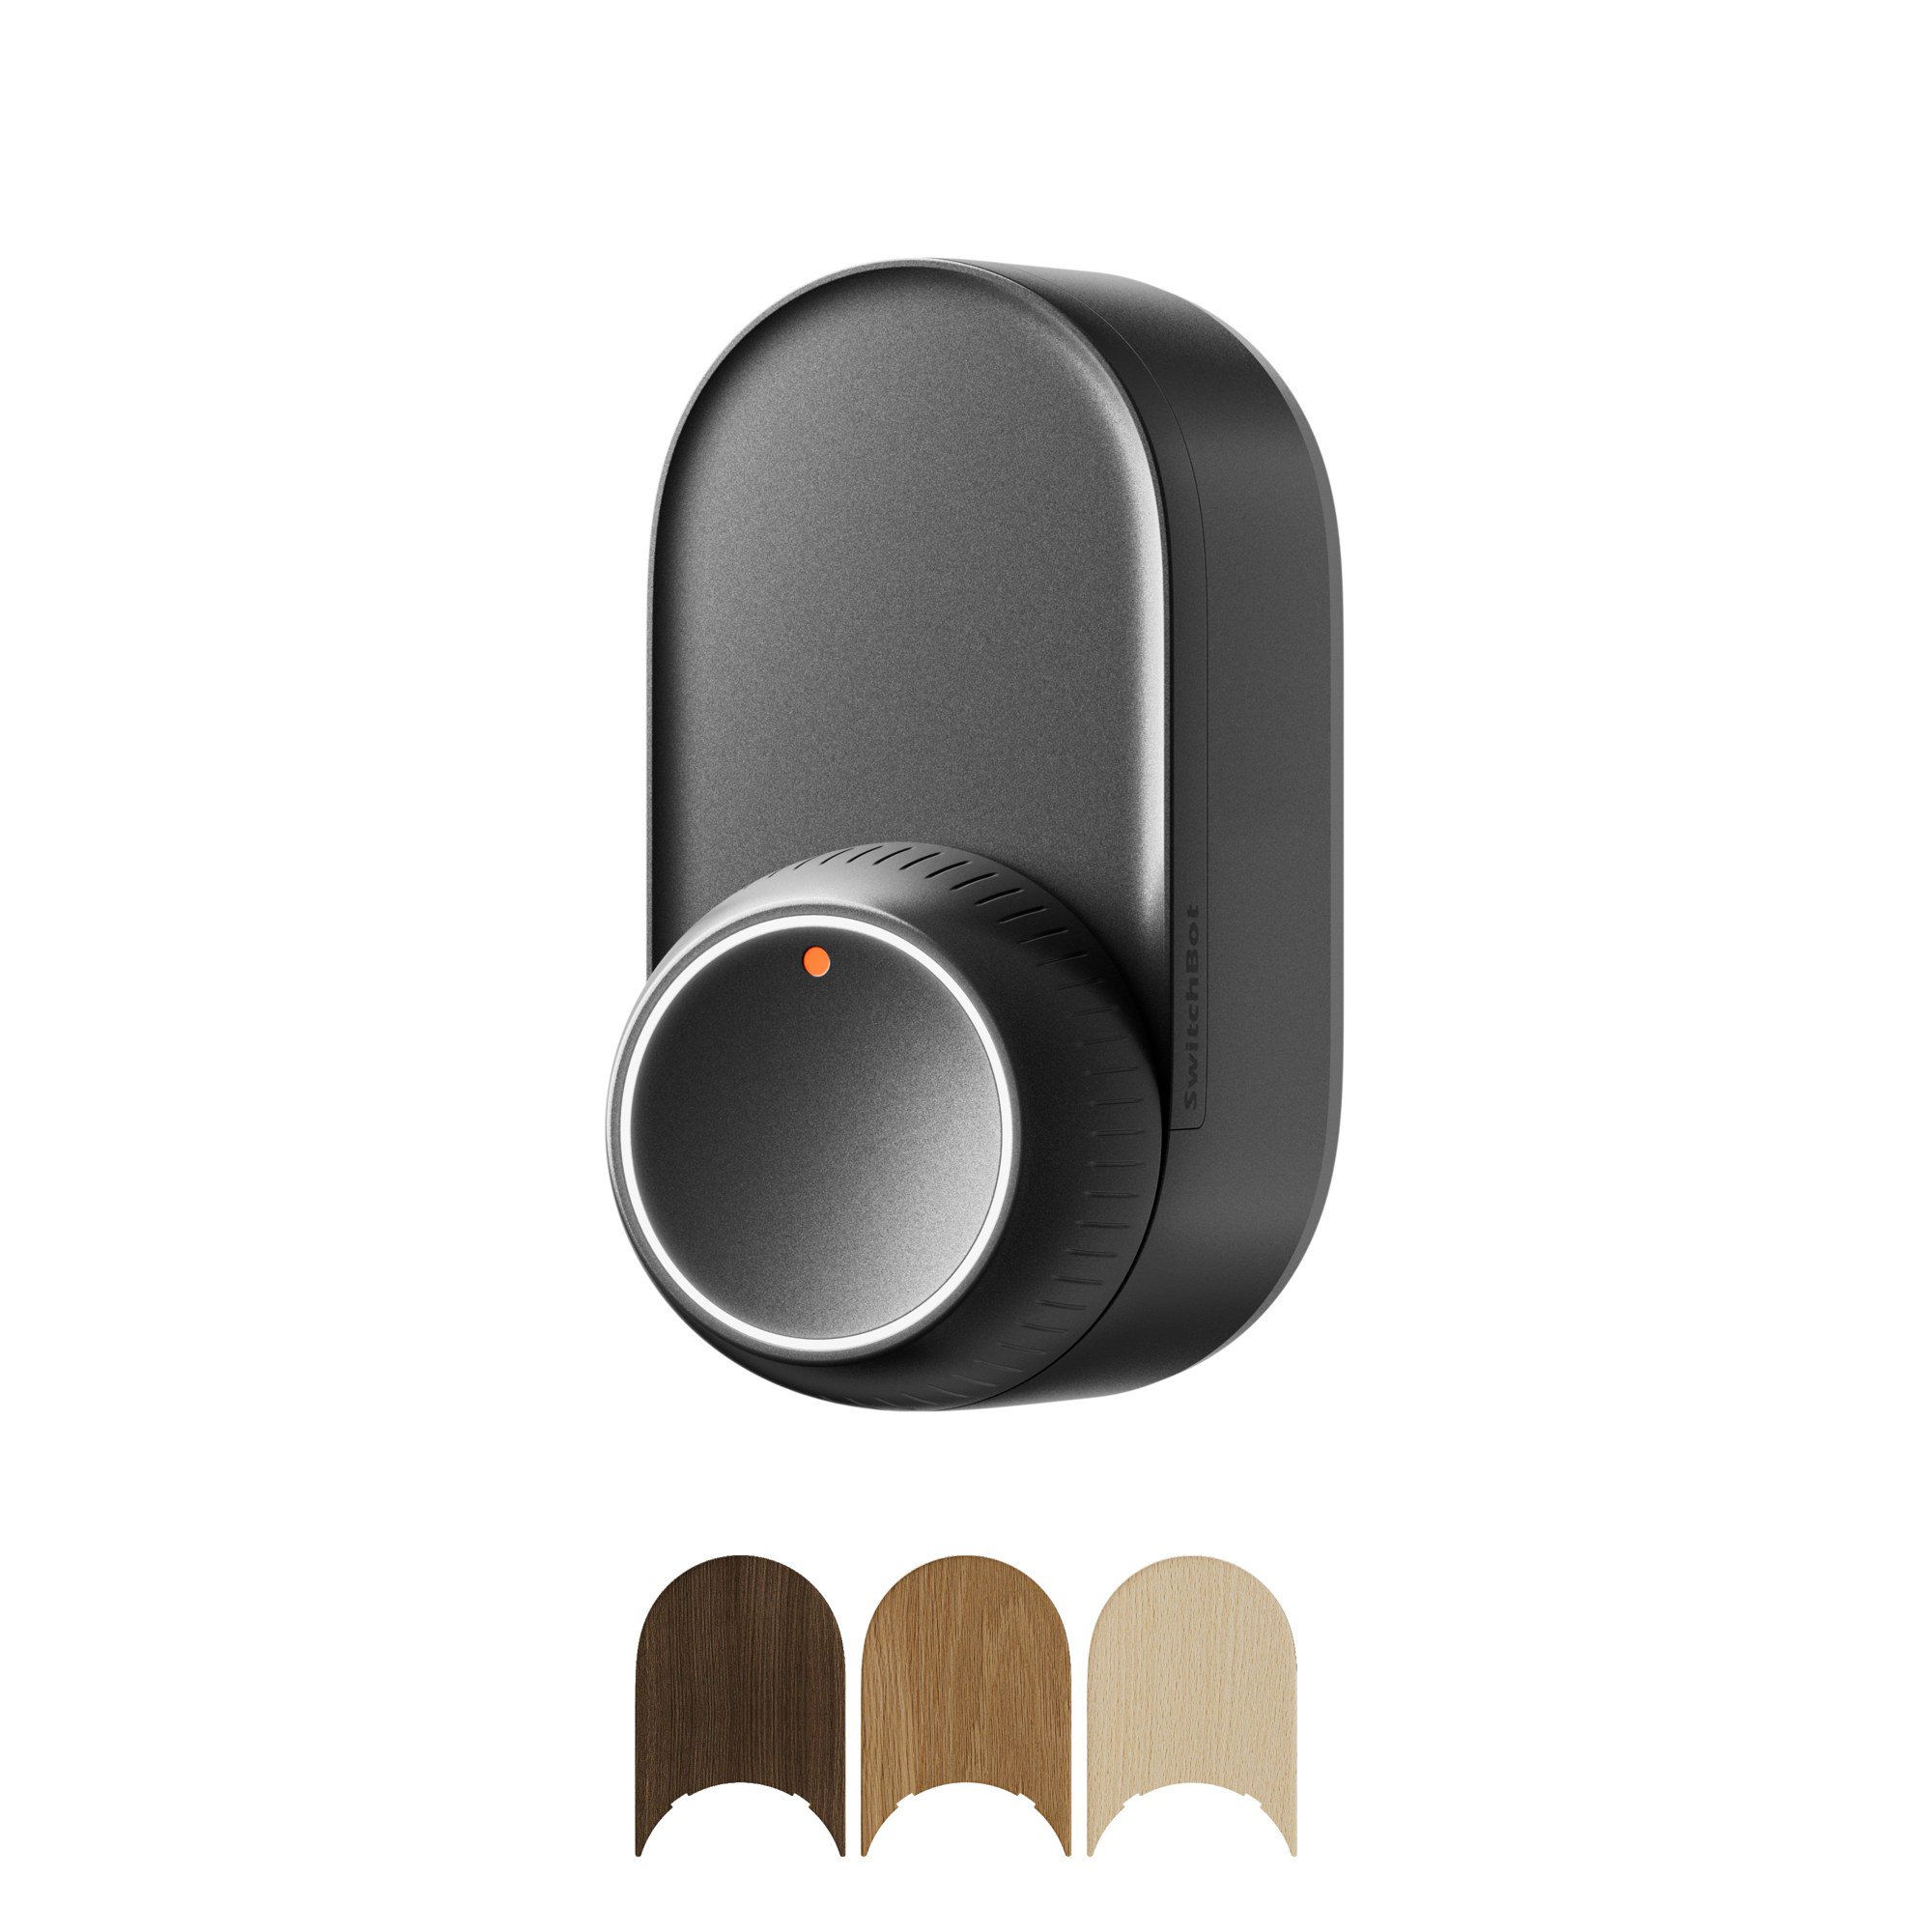 How to Choose a SwitchBot Lock: Lock Pro vs Lock Ultra vs Lock Vision and Vision Pro A research-based guide to official SwitchBot Lock Pro, Lock Ultra, Lock Vision and Lock Vision Pro specs and November 20, 2026 U.S. prices, including batteries, hubs, keypads, comp...