
How to Set Up Aiper IrriSense 2: Water Pressure, Zones, Range and Winter Storage
A practical Aiper IrriSense 2 setup guide built from Aiper's manual and support pages: faucet pressure and flow tests, hose and power requirements, zone mapping, fixing short spray range, the nutrient feeder and winter storage.
Disclosure: This page may contain affiliate links. They do not influence our editorial conclusions. Read the disclosure.
Our pick
- See price at Aiper
Top pick
Aiper
Atlanta-based maker of cordless robotic pool cleaners, solar pool skimmers and smart irrigation for the backyard.
Steps in this guide
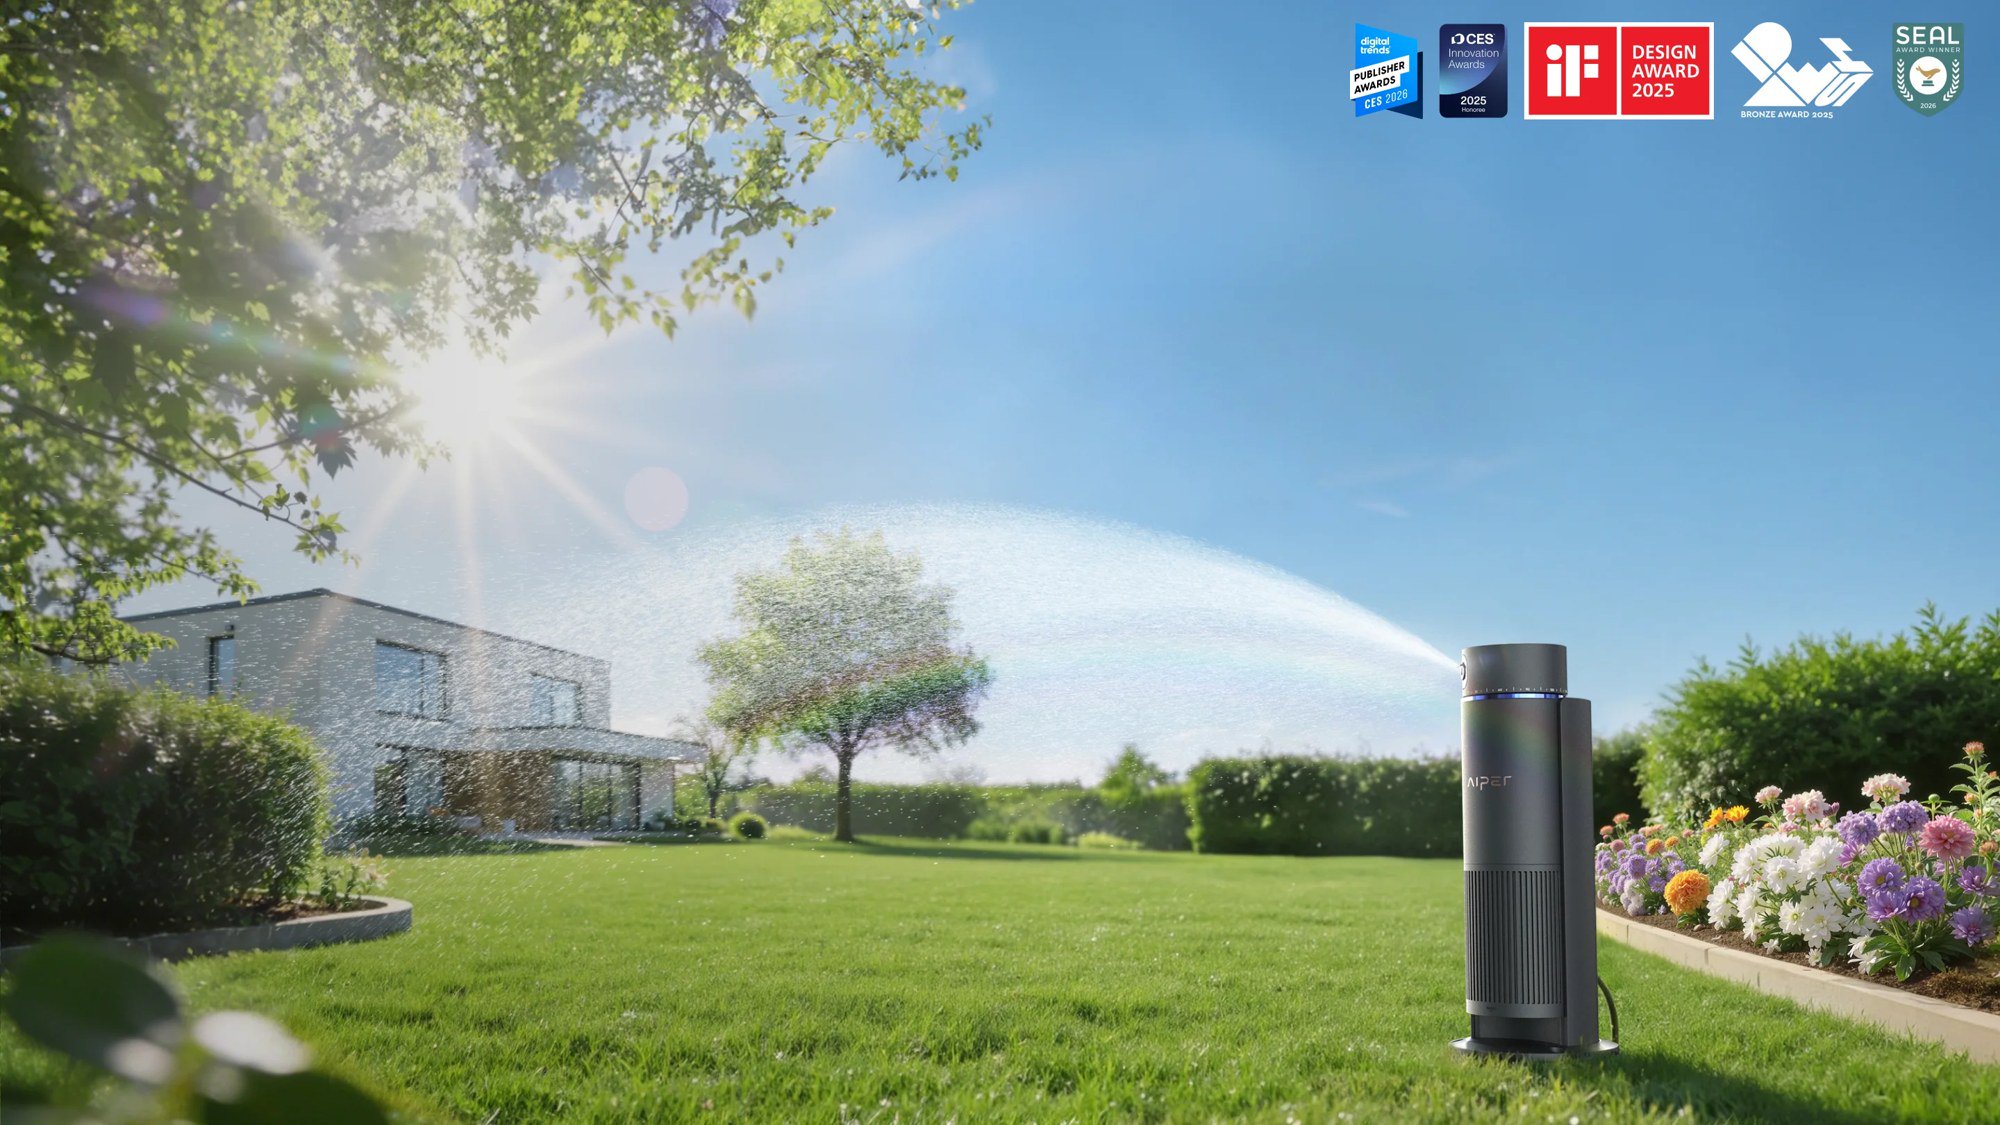
Aiper is best known for robotic pool cleaners, but its IrriSense 2 is aimed at the lawn instead: a single above-ground unit that combines an irrigation controller, a rotor sprinkler, an electrical valve and a nutrient feeder, all run from the Aiper app. This guide pulls together what Aiper's product page, user manual and support articles say about getting it working well, from checking your faucet before you buy to storing it for winter.

What IrriSense 2 is, in plain terms
IrriSense 2 (model WAW1) is a plug-in, hose-fed sprinkler tower about 22.9 inches tall. Instead of laying pipe and valves in the ground, you stake one unit in the yard, connect a garden hose and power, then draw watering zones on a map in the app. Aiper's product page lists:
- Coverage: roughly 2,400 to 4,800 sq ft per unit, depending on spray distance, water pressure and flow.
- Range: up to 39 ft with sufficient pressure and flow, or up to 33 ft in lower-flow conditions. Aiper notes these figures were measured in windless lab conditions.
- Zones: up to 10 customizable irrigation zones with individual schedules, drawn as areas, lines or points.
- Weather response: weather sensing plus a built-in rain sensor, so the system can skip or adjust watering. Remote weather features need an internet connection.
- Water tracking: real-time and historical water use by zone in the app. Aiper claims up to 40% water savings, while noting actual results vary with yard size, weather, pressure and habits.
On November 15, 2026, Aiper's US store listed a single IrriSense 2 at $399.99 (regular $499.99), a 2-pack at $699.99 for yards up to 9,600 sq ft and a 3-pack at $999.99 for up to 14,400 sq ft. The store page showed a 4.8 average from 46 reviews, along with free delivery, free returns, a two-year warranty from the date of purchase and a 30-day money-back guarantee. For Aiper's general store policies, see our Aiper shopping guide.

Step 1: Check your faucet before you buy
Water supply is the single biggest factor in how well IrriSense 2 performs, and Aiper's manual states that damage from use outside its operating conditions is not covered under warranty. The specifications list a rated input flow of 6.8 GPM (26 L/min), a rated input pressure of 45 to 65 PSI and a maximum input pressure of 100 PSI.
The manual gives two quick home tests:
- Pressure: attach a water pressure gauge to the outdoor tap and open it fully. A reading of 2.0 bar (about 29 PSI) or higher indicates sufficient pressure.
- Flow: put a 20 L (4.4-gallon) bucket under the tap and open it fully. If it fills within 48 seconds, the flow rate is adequate.
Aiper's range guide adds a formula if you use a different bucket: flow rate equals bucket volume divided by fill time in seconds, multiplied by 60. A 10 L bucket that fills in 30 seconds works out to 20 L per minute. Test with the same faucet, hose and connectors you plan to use, and turn off anything else on that water line first.
Step 2: Pick the right spot, hose and power
Hose. The unit has a 3/4-inch (19 mm) GHT female connector and works with 5/8-inch or 3/4-inch garden hoses. Aiper's troubleshooting guide recommends keeping the hose no longer than about 50 ft (15 m) where possible, avoiding expandable hoses and making sure the hose is not kinked, flattened or pinched. The manual also says not to use a water separator (splitter), because it can reduce irrigation range.
Power. IrriSense 2 is not battery-powered. It needs a 100 to 240 V outlet, draws up to 15.75 W and has a 33 ft cord. Aiper says the power supply is safe outdoors only in sheltered spots such as under a roof or awning, plugged into a waterproof outlet with a protective cover, kept upright and away from standing water. The unit itself is rated IPX6 and is specified for 32 to 104°F operation.
Connectivity. Setup runs over Bluetooth, and remote control needs a 2.4 GHz Wi-Fi signal where the unit sits. The Aiper app requires iOS 12.0 or later or Android 8.0 or later, and Aiper describes the app as essential for use.

Step 3: Install and connect
Aiper advertises a 15-minute setup with three stages: connect, set and enjoy. In practice that means:
- Stake the unit in place with the supplied garden pegs.
- Attach the hose to the inlet and plug in the power supply.
- Open the Aiper app, add the device and follow the prompts. Connecting to home Wi-Fi is listed as optional in the manual but is needed for remote control and the networked features.
- If setup is interrupted, press and hold the function button for 2 seconds to re-enter Bluetooth setup mode.
One detail worth knowing: the pressure gauge on top of the unit shows pressure at the nozzle outlet only, not your supply pressure, so use a separate gauge on the faucet for the Step 1 test.
Step 4: Map zones and set schedules
In the app you draw watering maps with area, line or point mapping and assign each zone its own schedule. That makes it possible to water a sunny lawn, a shaded strip and a flower bed differently from a single unit, up to 10 zones in total.

When you map, keep these points from Aiper's range guide in mind:
- The first stream is not the maximum. During mapping the unit sprays a visible stream to confirm direction. To find true reach, keep tapping the distance-increase button until the app shows "Maximum Distance Reached," then check where the water lands.
- Map on a calm day. Wind shortens reach and moves the landing point, so Aiper suggests early morning or calm midday for initial mapping.
- Keep water on your property. Set boundaries to your real garden layout and avoid spraying roads, walls, buildings or a neighbor's yard.
Step 5: Fix short range
Aiper says a reach of roughly 26 to 39 ft (8 to 12 m) is normal for a home setup. If yours stays below about 26 ft, the guide suggests working through these checks in order:
- Hose and fittings: shorten the hose, remove splitters and extra adapters, and clear any blocked filters or valves.
- Nozzle: Aiper offers a Standard Nozzle and a Jet Nozzle. The Jet Nozzle concentrates the stream for more distance and is included with select North American models, so check what came in your box. Start with the Standard Nozzle and switch only if reach stays short.
- Household pressure: a pressure regulator near the water meter or main shutoff may be limiting supply. Aiper advises small adjustments only where local rules allow, and a licensed plumber if you are unsure.
- App setting: raise the distance setting to the app's maximum, as above.
- Wind: retest in calm conditions.
If reach is still below 26 ft, Aiper support asks for your model, region, nozzle type, measured pressure and flow, hose length and diameter, any splitters or valves in use, and a video of the stream at "Maximum Distance Reached." If you end up needing a repair or return, our walkthrough on how to file an Aiper warranty claim covers the process.
Feeding the lawn: the nutrient feeder and SoilPulse
The fourth part of the "4-in-1" is nutrient dispensing. The manual lists a solution chamber on the unit and notes that solution bottles are bought separately. Aiper also sells SoilPulse, which it describes as an organic soil amendment with a microbial and organic formula meant to loosen soil and help it hold water longer. SoilPulse is sold separately, and these are Aiper's own descriptions rather than independent results.

Step 6: Store it for winter
Because hoses and water lines can freeze, Aiper recommends removing IrriSense 2 and storing it indoors before winter. The manual's steps:
- Turn off the water source and activate Drainage Mode in the app.
- Unscrew the hose and remove all connectors from the water port.
- Unplug the power supply and store the cord and adapter properly.
- Unscrew the garden pegs, lift the unit straight up and move it indoors.
To restart in spring, reconnect power and water and resume normal use. If you also own an Aiper pool robot, our guide to winterizing an Aiper robotic pool cleaner covers that side of the off-season.
Is IrriSense 2 right for your yard?
Based on Aiper's own specs, IrriSense 2 makes the most sense if you have a small to medium lawn, an outdoor faucet that passes the pressure and flow tests, a covered outdoor outlet within reach of the 33 ft cord, and 2.4 GHz Wi-Fi in the yard. It is pitched as a simpler alternative to dragging hoses, moving sprinklers and adjusting timers by hand, and as something renters can relocate, since nothing is buried. Larger yards need multiple units, which is where the 2-pack and 3-pack pricing comes in. If your water pressure is low or your yard is long and narrow, measure first: range depends on your supply, and Aiper's warranty excludes damage from use outside the stated conditions.
For more from the brand, see our Aiper EcoSurfer S2 solar skimmer review and the latest Aiper Black Friday pricing.
References
- Aiper, "IrriSense 2: 4-in-1 Smart Sprinkler & Irrigation System" product page: https://aiper.com/us/aiper-irrisense2
- Aiper Store, "Aiper IrriSense 2" (price, bundles, FAQ, warranty and returns): https://aiper.store/us/products/aiper-irrisense-2
- Aiper, "IrriSense 2 Watering Distance: How Far Can It Reach & How to Improve Range": https://aiper.com/blogs/troubleshooting/is2-watering-distance/
- Aiper IrriSense 2 User Manual (operating conditions, setup, winter storage), via Manuals+: https://manuals.plus/aiper/irrisense-2-smart-irrigation-manual
- Aiper IrriSense 2 User Manual, specifications page, via ManualsLib: https://www.manualslib.com/manual/4518359/Aiper-Irrisense-2.html?page=23
Meet your guide
Lipeiguan
author
What to read next
 How to Choose a SwitchBot Lock: Lock Pro vs Lock Ultra vs Lock Vision and Vision Pro A research-based guide to official SwitchBot Lock Pro, Lock Ultra, Lock Vision and Lock Vision Pro specs and November 20, 2026 U.S. prices, including batteries, hubs, keypads, comp...
 Best Costway Patio Furniture (2026): Conversation Sets, Dining Sets and Loungers A research-based Costway patio furniture roundup as of November 18, 2026: official conversation, dining and folding lounge sets, current prices, weight capacities and box counts fr...
 How to Install and Use SwitchBot Curtain 3 A research-based SwitchBot Curtain 3 how-to as of November 18, 2026: official Rod 3 package contents, 15–40 mm track fit, app pairing before hanging, magnet stops, calibration, Tou...