
How to Set a Nintendo Account Password or Passkey Before Google and Apple Sign-In Ends
Nintendo ends Google and Apple sign-in for Nintendo Accounts on January 26, 2027. Step-by-step: reset or set a password, register a passkey, handle two-step verification and sign in on Switch 2 afterward.
Disclosure: This page may contain affiliate links. They do not influence our editorial conclusions. Read the disclosure.
Our pick
- See price at Nintendo
Top pick
Nintendo
Nintendo is the Japanese video game company behind the Nintendo Switch 2 and Nintendo Switch consoles, Nintendo Switch Online and franchises such as Super Mario...
Steps in this guide
If you sign in to your Nintendo Account by tapping a Google or Apple button, you have a deadline. Nintendo says that as of January 26, 2027, Google and Apple accounts can no longer be linked to a Nintendo Account, which means you will not be able to sign in with them or use them to create a new account. After that date, a sign-in screen will ask for your email address or Sign-In ID and a password, or a passkey.
This guide walks through what to do before the cutoff, based on Nintendo's support notice and Nintendo of America's help pages on signing in, passkeys and verification codes. It is a research-based guide; follow the on-screen prompts on accounts.nintendo.com, which are the final word.

Who needs to act
You need to do something if any of these apply:
- You created your Nintendo Account with Sign in with Google or Sign in with Apple and never set a Nintendo password.
- You set a password years ago but do not remember it.
- The email address on your Nintendo Account is one you can no longer access.
If you already sign in with your email address or Sign-In ID and a password, nothing changes for you. Nintendo also says that if you are already signed in on a device, you may not have to sign in again after the cutoff. The risk shows up the next time a sign-in page appears, for example on a new phone, a new console user or after signing out.
What ends on January 26, 2027
Nintendo's notice lists three changes:
- Signing in to a Nintendo Account with a Google or Apple account stops working.
- Creating a new Nintendo Account with a Google or Apple account is no longer possible.
- The My Nintendo Platinum Points mission for linking a Google account to a Nintendo Account is discontinued.
Nintendo says the exact end time may be delayed depending on its system change work, but there is no reason to wait.
Step 1: Check how you sign in today
Go to accounts.nintendo.com in a browser and sign in the way you normally do. Once you are in, open Sign-in and security settings. This is where Nintendo's help pages send you to manage your sign-in methods, including passkeys. Note which email address is attached to the account, because Nintendo uses it to send password reset emails and verification codes.
Step 2: Set or reset your Nintendo Account password
Nintendo's own instructions for anyone who has not set a password, or has forgotten it, are short:
- Go to the Nintendo Account login page.
- Select Forgot your password?
- Follow the instructions to send yourself a password reset email, then choose a new password from the link in that email.
Use a password you do not use anywhere else and store it in a password manager.
If the reset email does not arrive
Nintendo's help pages say verification emails can take up to 30 minutes. If nothing shows up:
- Check your spam or junk folder.
- Make sure no email filter is blocking mail from @accounts.nintendo.com.
- Add no-reply@accounts.nintendo.com to your address book and safe-sender list.
- Check you typed the email address correctly, then request a new email.
If you can no longer access the email address registered to your Nintendo Account, Nintendo says to contact its support team to update it. Do this well before January 26, 2027, since support requests can take time.
Step 3 (optional): Register a passkey
A passkey lets you sign in with your device's fingerprint or face recognition instead of typing your password. Nintendo of America says registering one adds a layer of security that can help prevent unauthorized access, and that biometric data is not sent to or saved in your Nintendo Account.

Which devices support Nintendo passkeys
| Device | Minimum version |
|---|---|
| iPhone | iOS 16 or newer |
| iPad | iPadOS 16 or newer |
| Mac | macOS 13 or newer |
| Android phone or tablet | Android 9 or newer |
How to register one
According to Nintendo's passkey help page:
- On the device you want to use, visit accounts.nintendo.com and sign in.
- Select Sign-in and security settings.
- Select Passkeys, then Edit.
- If asked, confirm your identity with a verification code sent to your email address (or by text message if you have a phone number on the account).
- Select Register a new passkey.
- Enter your Nintendo Account password and select OK. This is another reason to set a password first.
- Read the information about passkeys, select Register and follow your device's prompts.
- When you see "The passkey below has been registered," you are done.
Passkey rules worth knowing
- You can register up to 10 passkeys, each linked to a different phone, tablet or computer. If you see "You can't register more passkeys," remove one first.
- Do not register a passkey on a shared device. Nintendo warns that anyone who can use that device could sign in to your account.
- Keep your password and email current. Nintendo says that if you change or lose the device holding your passkey, your email address and password are used to confirm your identity.
- You can still sign in with your email address (or Sign-In ID) and password after setting a passkey.
- To remove one, go to Sign-in and security settings > Passkeys > Edit and select Remove next to it. The passkey data stays on your device until you delete it there.
Step 4: Know how two-step verification fits in
If you have turned on Nintendo's two-step verification, sign-in may ask for a code from the Google Authenticator app after your password. Nintendo's sign-in help page explains the fallbacks:
- No access to the app: select "Use another method to verify your identity" and enter one of the backup codes you saved when setting up two-step verification.
- No backup codes: choose another method again, and Nintendo sends a verification code to your email address, or by text if a phone number is registered.
Note that using the Google Authenticator app for codes is separate from signing in with a Google account. Nintendo's notice is about Google and Apple account sign-in, not about the authenticator app.
Step 5: Signing in on Nintendo Switch 2 or Switch afterward
Nintendo's help page describes two ways to sign in on a console:
- QR code: scan the code on the console screen with your phone and sign in on the phone's browser with your preferred method. After January 26, 2027, that means password or passkey rather than Google or Apple. When linking a new user, you also enter a five-digit confirmation code shown on the console.
- Password: on the QR code screen, select Sign in with a password and enter your email address or Sign-In ID and password.
If your account preferences are set to Sign-in ID only, you must use your Sign-In ID rather than your email address.
Supervised accounts in a family group
Nintendo says supervised accounts in a family group must use their own Sign-In ID and password, not a parent's or guardian's. If your children's accounts were set up through a Google or Apple sign-in, check each account's sign-in method too.
Quick checklist
- Signed in at accounts.nintendo.com and checked Sign-in and security settings
- Confirmed the email address on the account is one you can access
- Set or reset a Nintendo Account password
- Saved the password in a password manager
- Registered a passkey on your own phone or computer (optional)
- Found your two-step verification backup codes, if you use 2-step
- Checked family members' accounts
Related reading
- News: Nintendo is ending Google and Apple sign-in on January 26, 2027
- Our research-based Nintendo Switch Online review
- The Nintendo Store shopping guide, including how My Nintendo points work
References
- Nintendo Support, "Discontinuation of Google and Apple accounts linking to Nintendo Accounts": https://www.nintendo.com/au/support/articles/discontinuation-of-google-and-apple-accounts-linking-to-nintendo-accounts/
- Nintendo Support (Americas), "How to Manage Passkey Authentication for a Nintendo Account": https://en-americas-support.nintendo.com/app/answers/detail/a_id/62531
- Nintendo Support (Americas), "How to Sign In to a Nintendo Account": https://en-americas-support.nintendo.com/app/answers/detail/a_id/15984
Meet your guide
Lipeiguan
author
What to read next
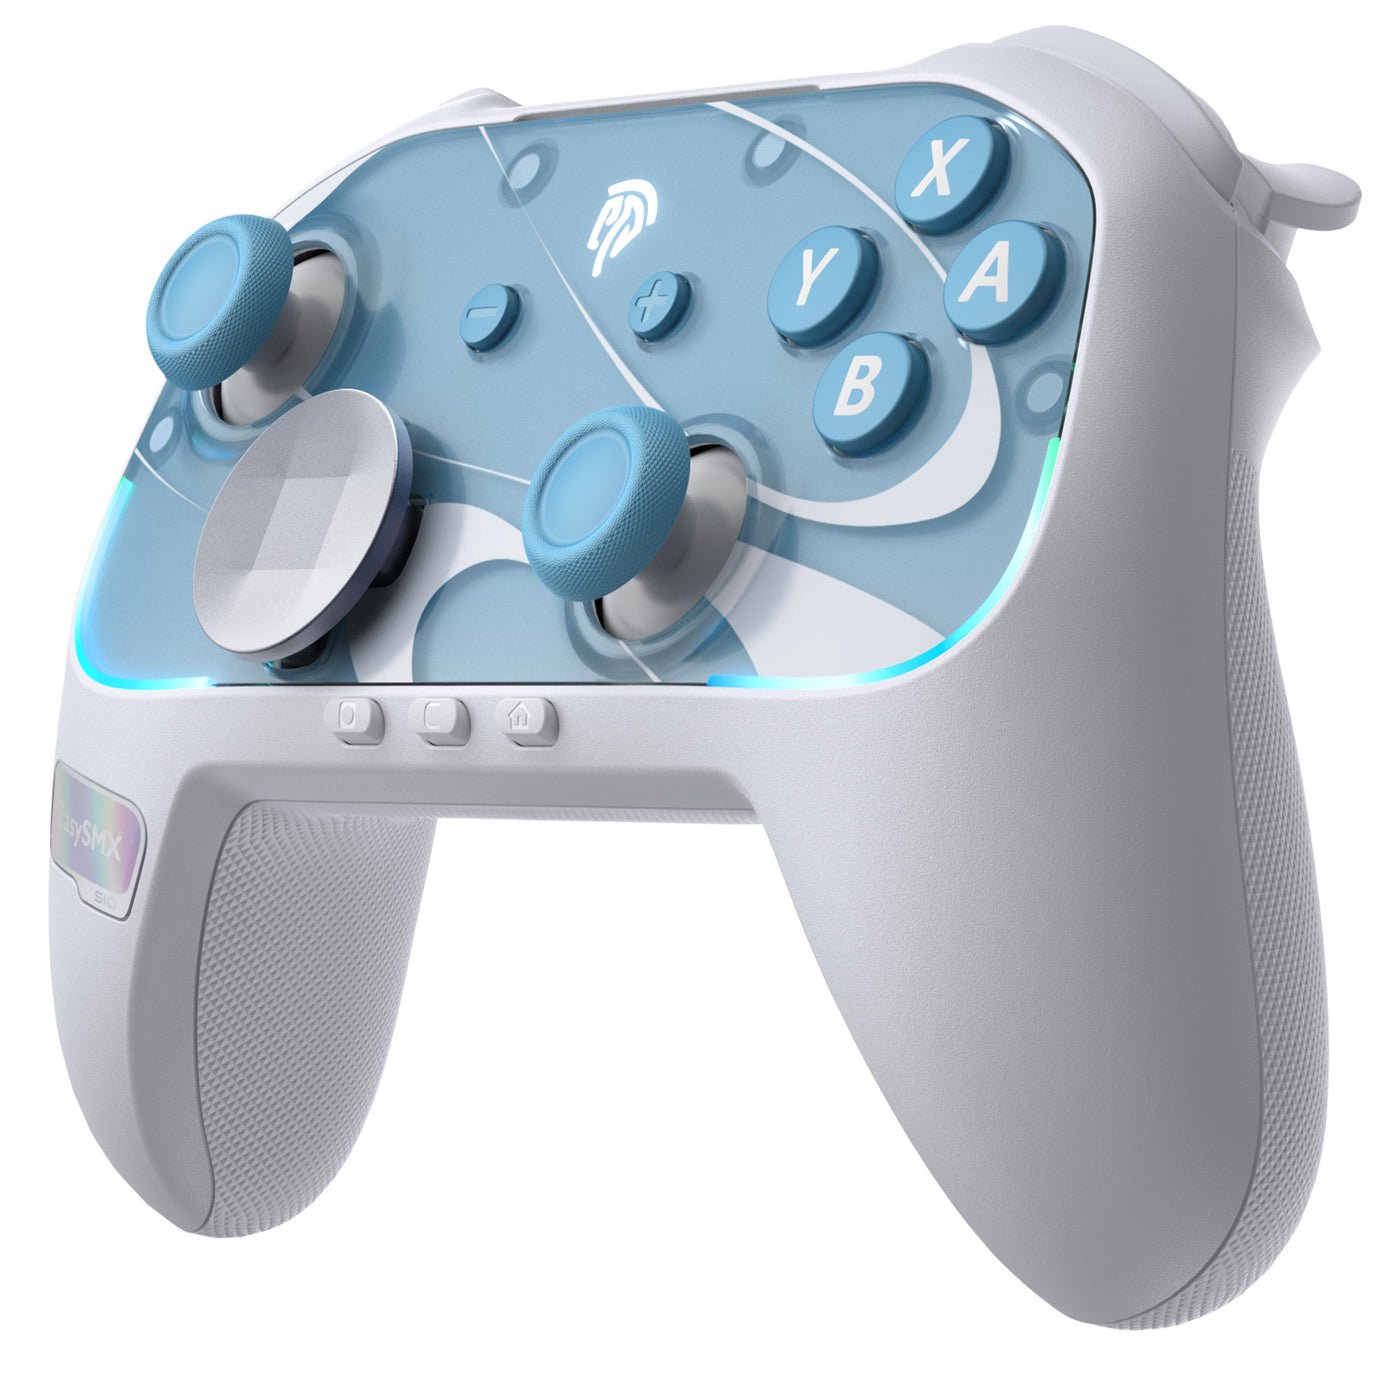 How to Connect EasySMX S10 and S10 Lite to Switch 2, PC and Phones A research-based setup guide for EasySMX's S10 and S10 Lite: official Switch 2, Switch, PC and Bluetooth pairing steps, firmware updates, charging lights and calibration, as of Nov...
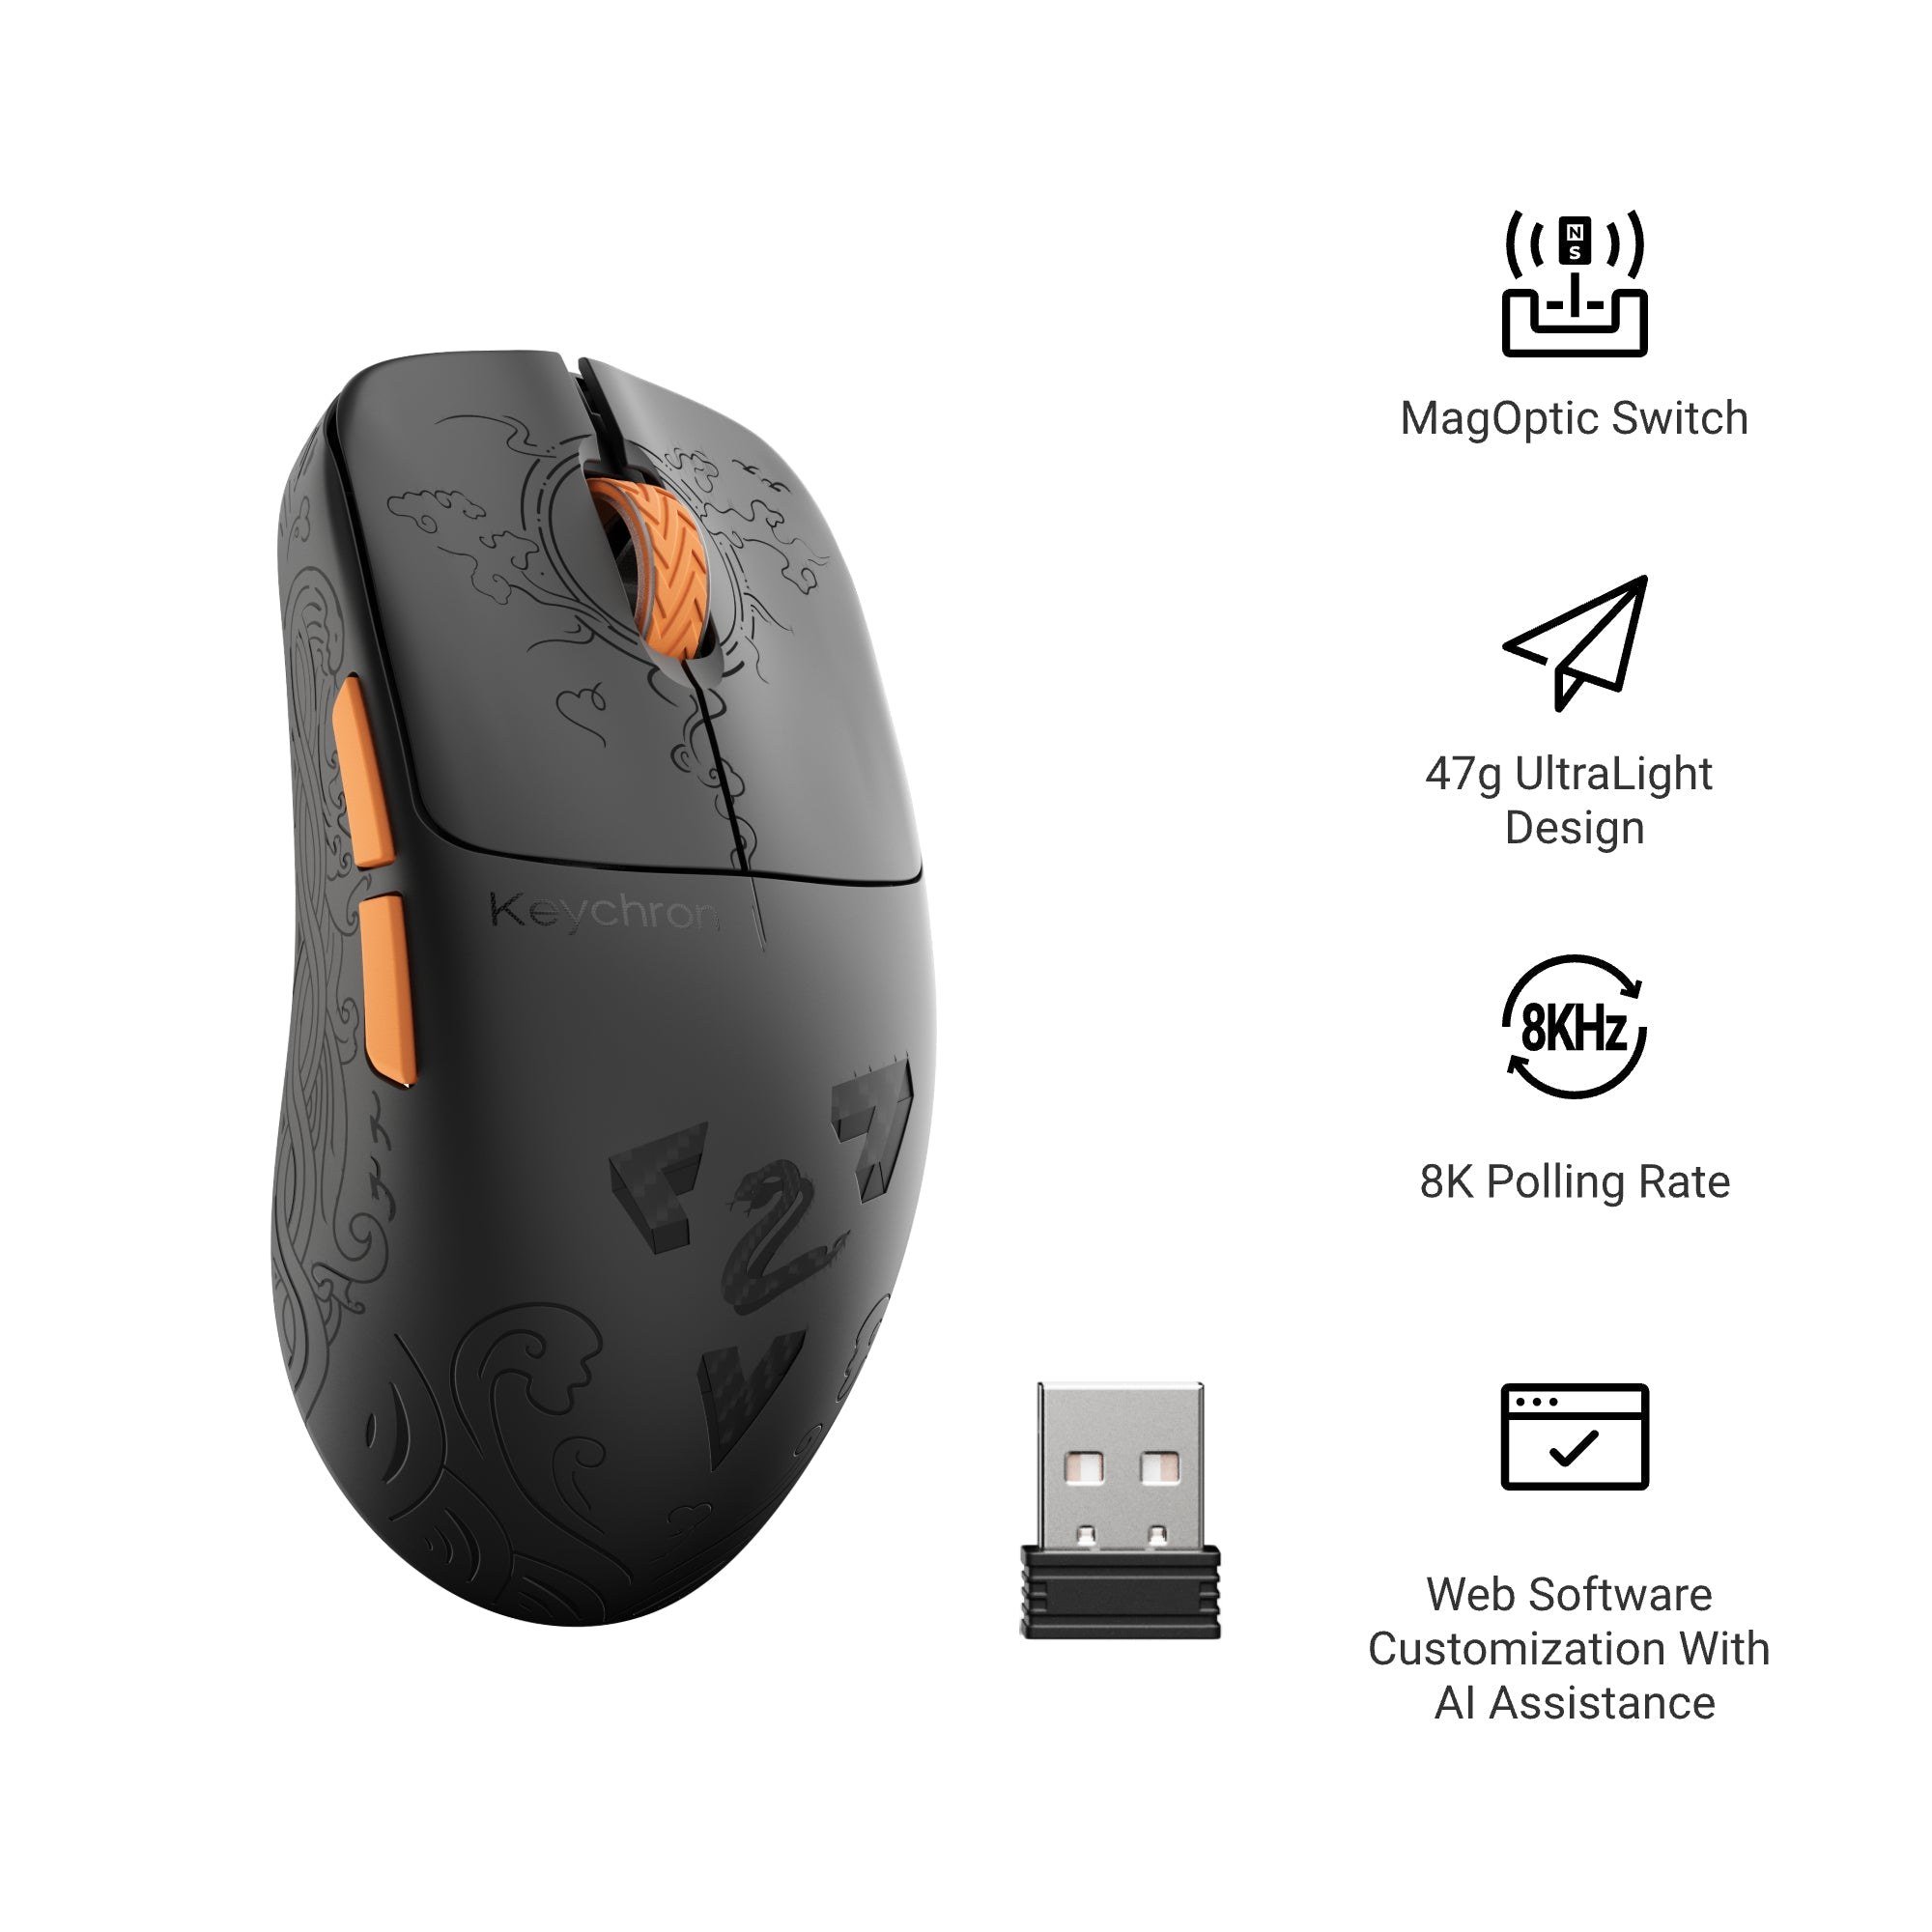 Best Keychron Mouse UK 2026: G3 HE vs G6 HE vs M7 vs M6 vs M3 vs M5 Which Keychron wireless mouse to buy in the UK: the G3 HE and G6 HE gaming mice and the M7, M6, M3 and M5 compared on weight, sensor, polling rate, battery life and Keychron UK pri...
 Apple Arcade's Holiday Lineup: Football Manager 27 Touch Now, Plants vs. Zombies: Replanted and Three More on Dec. 3 Football Manager 27 Touch is on Apple Arcade now; Plants vs. Zombies: Replanted, Prince of Persia: The Lost Crown+, solitaire(ish) and LEGO DUPLO Playtime arrive December 3. Price,...